Nazca Lines and Figures 2
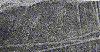
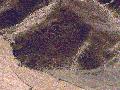
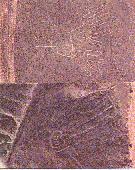
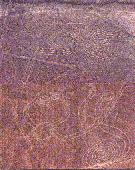
Photo Gallery
Top of Page